The Client:
Bill Dubé
Arroyo Grande, California
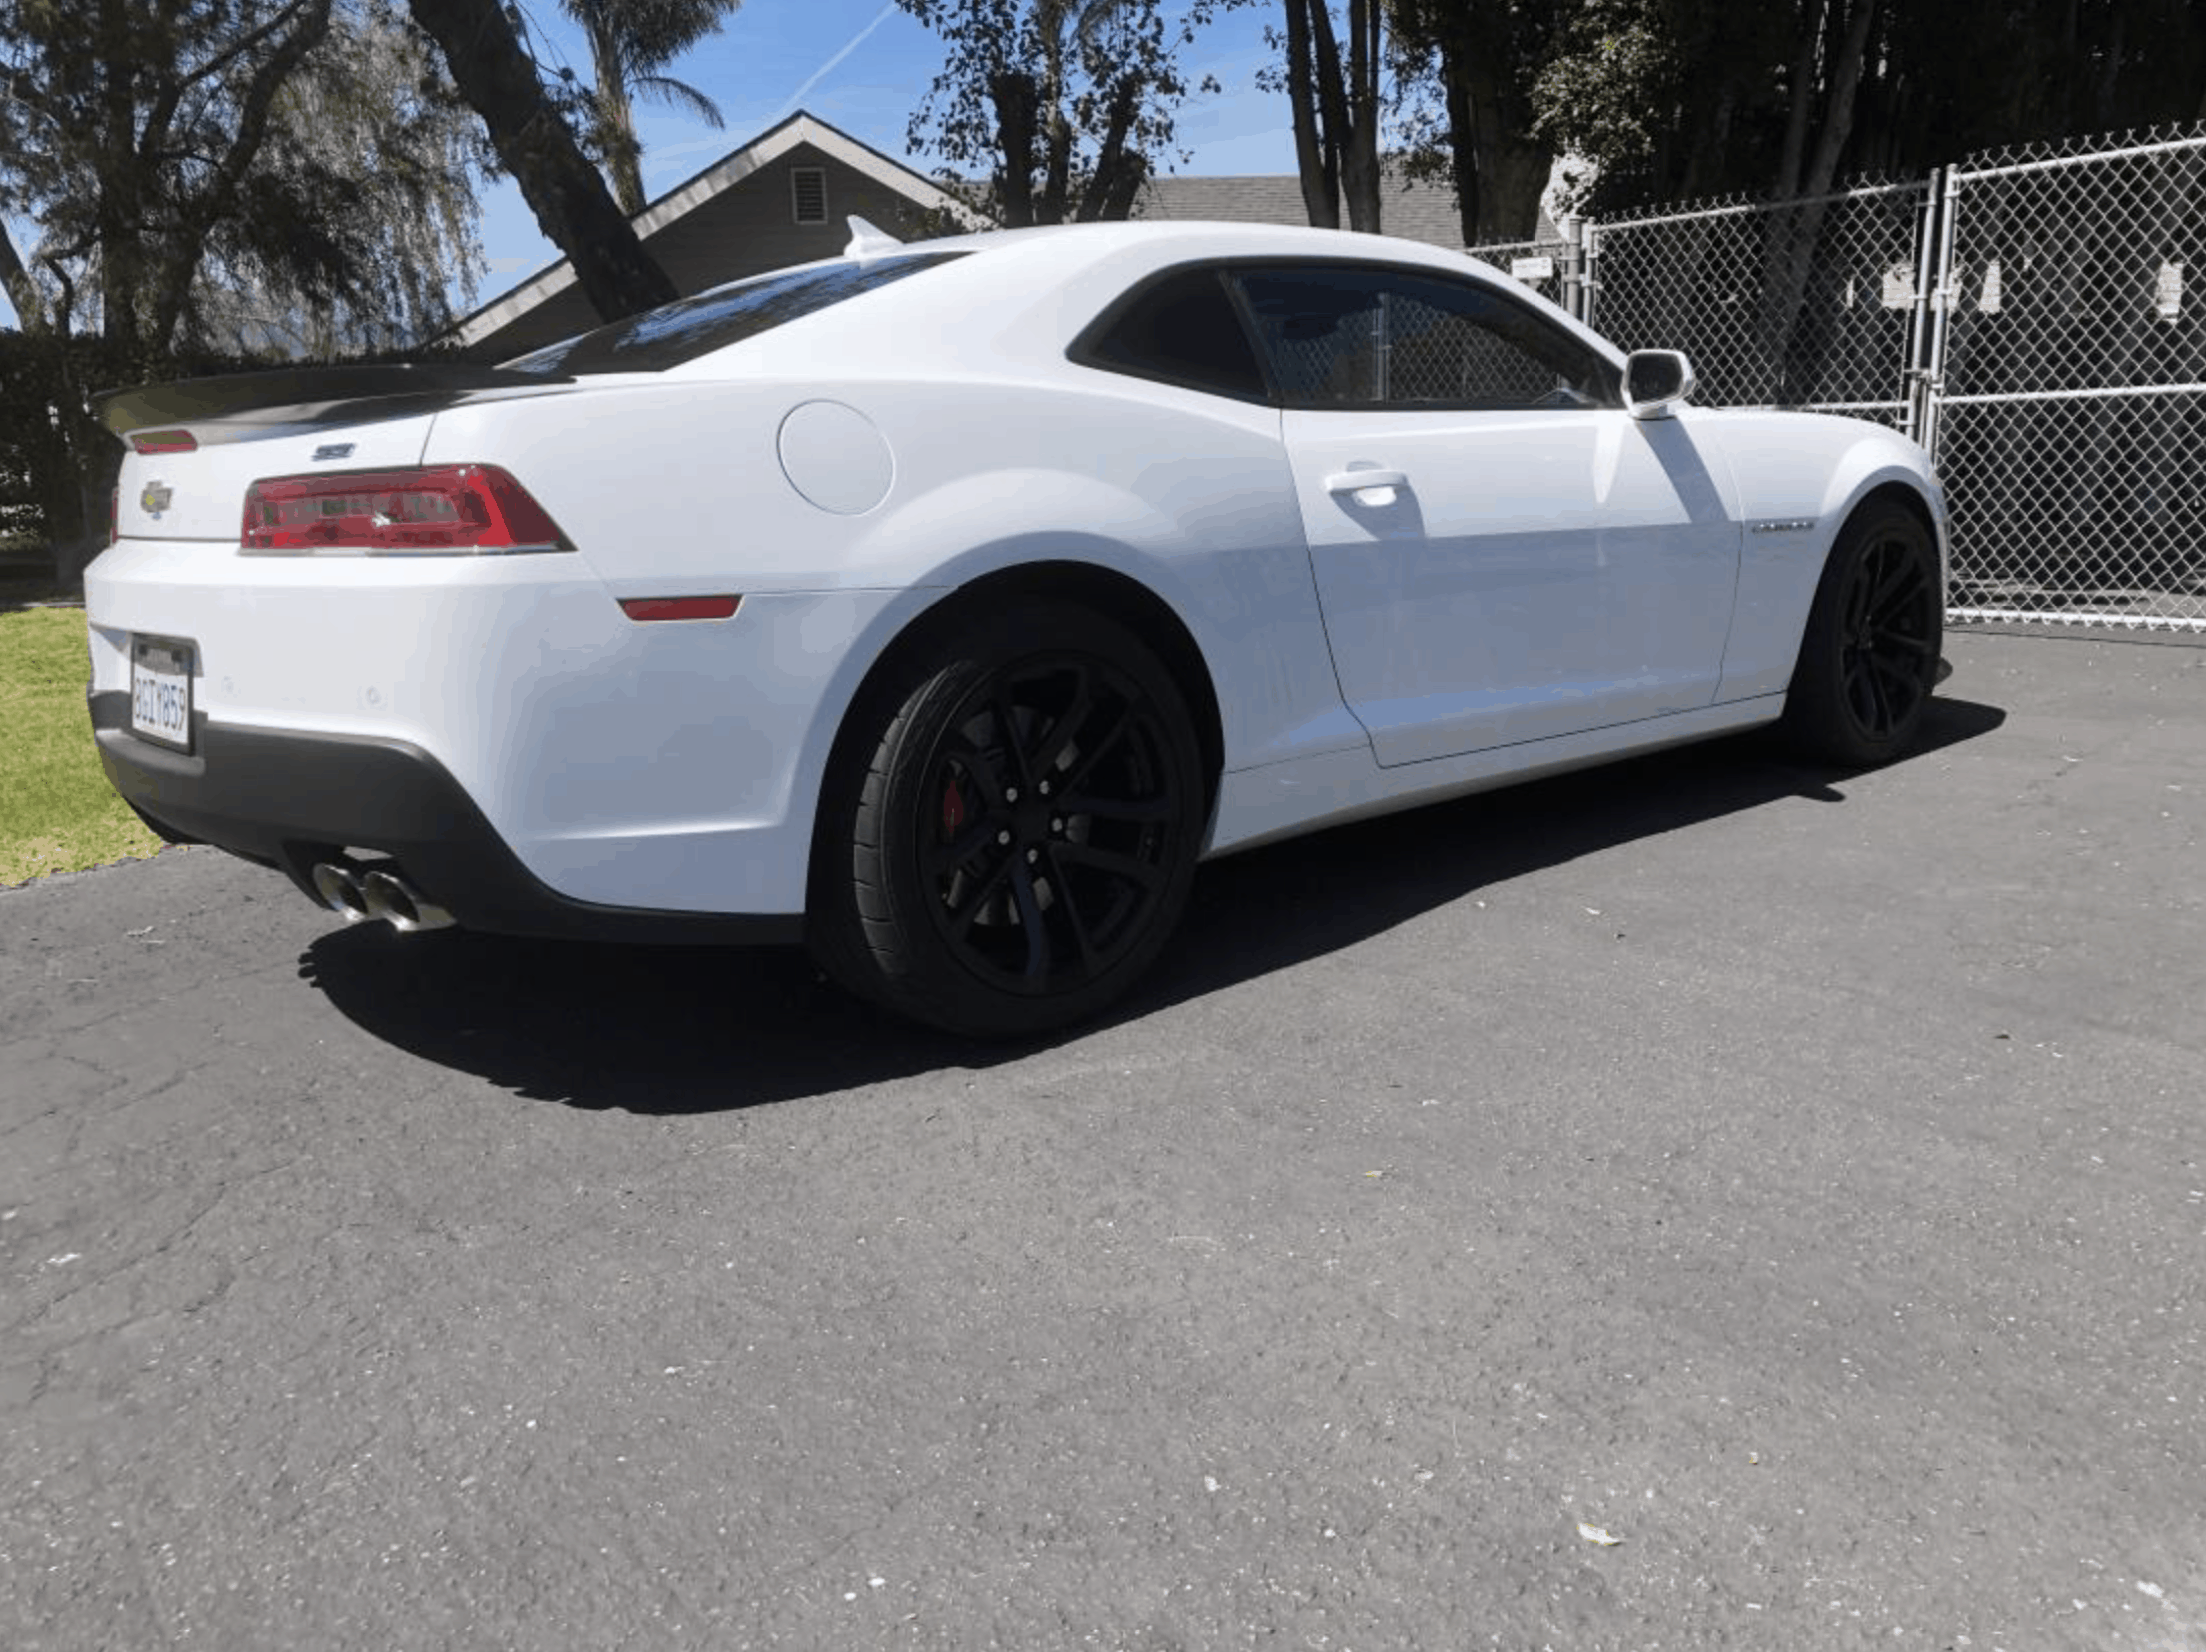
2015 Camaro SS 6.2L 6 speed manual with quad exhaust, IRS, Recaro bucket seats and producing currently, approximately 450HP. 7500 miles. Modifications: Hurst 6 speed shifter, Granatelli cold air intake and Granatelli remapped M.A.F sensor as well as Granatelli 80,000 volt igniter coils and almost zero loss ignition wires, crankcase catch can.
I perform all mechanical and electrical work on my vehicles as well as for friends.
Review On: MVI 2010 – 2015 Camaro AutoPlay for Apple and Android Phone Car Integration
After purchasing this I was somewhat overwhelmed by the connections requiring solder joints. All of the module connections are pretty straight forward and well-marked, not to mention that all of the plugs are different size so you can’t put them in the wrong place. One of my biggest concerns was where to put the main module. I made out a list of questions and started contacting MVI via text, and immediately the majority of my questions were answered. They hadn’t installed this on a Camaro yet, so wasn’t sure where to mount it. If you put it somewhere else you don’t have to remove the glovebox, but I removed mine just to be able to see all the possibilities of mounting choices. They have several videos on YouTube showing various installs on several different cars. I did watch the one where they were installing a NAV unit on a Camaro which answered some questions and after our texting began, they produced a full wiring video on the Apple CarPlay device I had purchased. Those pretty much answered everything you need to know except that aux audio wiring connection colors were incorrect on my car. I didn’t know that until I was in the middle of the install and it was too late in the evening to ask anyone. I figured the pin numbers were correct even though the wire colors were wrong, so went with that assumption since I could change it later. My assumption was correct and everything worked. I would recommend that you make the six solder connections and have all the wiring and devices in the passenger floor as I did so that you “bench test” before putting everything together. I did solder the negative and positive power connections and the one green wire, pin 28 I think, and the other 3, I cheated and used the dry connectors furnished in the kit since soldering with very little light in tight quarters, and trying not to melt any of the surrounding wires was getting old. Put both the main module as well as the black box, in the space to the right of the radio compartment, accessed through the now removed glove box along with all the extra wiring and re-installed the radio and screen and it still worked so I was finished. I did have questions along the way and they were always answered timely via text. If I remember, the Apple Carplay I installed in another vehicle that came with the head unit, worked slightly differently. On your phone and my prior experience with Apple CarPlay, You could scroll the screen between pages of apps by just swiping left or right but not on this screen. I did discover that by pressing the screen about 1⁄2” to the right of pages icons on the bottom would advance the pages. To reorder the apps on the main screen, you do that on your phone by clicking Settings/General/Car Play select whatever name is beneath “My Car” and on the next screen you can remove some, not all apps, and move them all around to be on whatever screen you want. I did this while my car was still connected so they actually moved in real time but you can do it without being connected and it will update the next time you connect.
Pro’s:
This was everything as advertised and did exactly what I wanted it to do. Unfortunately Chevrolet, decided to put some car adjustments in the radio heat unit and installing a different brand head unit, all have some trade-offs on what you can access and where. I was wanting a NAV unit but since I wouldn’t be using it that much, didn’t want to pay Chevy several thousand dollars for the head unit I needed and as I mentioned above, all the aftermarket head units have trade-offs in what you can and can’t do with their radios. With MVI’s set up all your steering wheel controls still work and work with CarPlay.
Cons and Recommendations:
1) Updating MVI’s website with more information as to what you are getting when you make a purchase. I incorrectly assumed I was getting a new modified head unit and not 2 modules with a lot of wiring, since my investigations did show that 2016 and later Camaro’s have CarPlay built in.
2) All newer cars have built in microphones for hands free use, so why not use the built in one instead of MVI giving you a new one to install. It is easy enough to install, and putting it to the left of the rear view mirror and running the wiring to the passenger side access since I had the glove box removed, was easy enough to do and my car has black interior so you can barely see it, but I would have preferred using the factory one and preferably that be accomplished in the module (if possible) and not having to perform more wiring splices. The CarPlay in new factory cars that offer it and replacement head units from other manufacturers all auto switch by just plugging in or unplugging your phone. With this set up, you have to press a switch to accomplish the switching.
3) And lastly, replacing the factory USB connection in the center console with one that was Mi-Fi approved to enable the phone connection would have been better than installing yet another outlet either in the center console or wherever the end user wants to install it. I say that with tongue in cheek due to fact that under my circumstances, I actually preferred where I mounted the furnished USB outlet than using the one in the center console.
With everything said I would do this again and this unit made by MVI was the best thing on the market for what I wanted accomplished.
So how does it look?
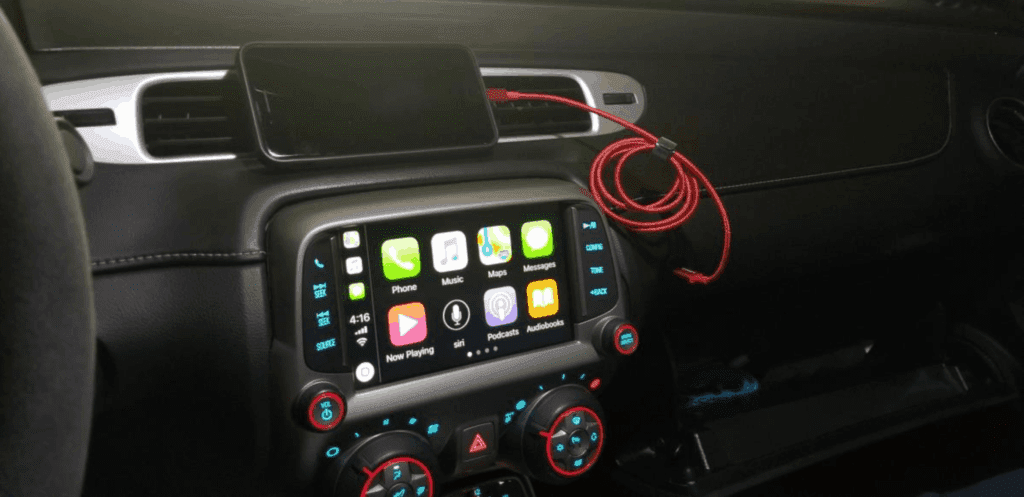
The phone is held in place via magnetic mount on the vent and I installed the USB mount in the dash. By the way, carefully using a step drill makes a much cleaner mounting hole than a drill bit. Not sure how far to go, drill a hole in a piece of cardboard or spare plastic material. I did use a pair of calipers so I knew what size hole was needed, but since I was going to be drilling the face of my dashboard that would be highly noticeable if any errors were made It doesn’t hurt to practice on something else first.