In today’s world of Bluetooth streaming and digital music, many modern vehicles no longer come equipped with a CD player. For those who still love their CD collection, this can be a frustrating limitation. Fortunately, adding a CD player to any vehicle with a USB port is easier than ever, thanks to portable CD player solutions like the MVI Smart Portable CD Player [MVI Smart Portable CD Player].
Whether you drive a new Chevy, Ford, Toyota, or any other vehicle without a built-in CD player, this guide will walk you through how to bring CDs back to your car. First thing you need to have is Carplay!
How to Add a CD Player to Your Vehicle with a USB Port
Step 1: Get a USB-Compatible CD Player
The MVI Smart Portable CD Player is one of the best options for adding a CD player to any vehicle. It’s designed to work with factory USB media ports, making installation simple.
🔗 Buy here: MVI Smart Portable CD Player
Step 2: Plug the CD Player into Your Vehicle’s USB Port
- Connect the MVI Smart Portable CD Player directly to your vehicle’s USB media port.
- Your car’s infotainment system should detect it automatically if it has CarPlay, just like how you would connect your phone for carplay.
- If your vehicle has multiple USB ports, use the one meant for Carplay (not just charging).
Step 3: Select & Play Your CD
- Insert a CD into the portable player.
- Enjoy your favorite music just like you would with a built-in CD player! 🎵
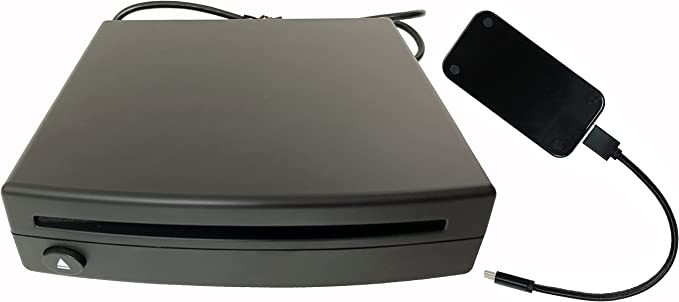
Benefits of the MVI Smart Portable CD Player
Plug-and-Play Simplicity – No complicated wiring or installation.
If you miss listening to CDs in your car, a USB-compatible portable CD player like the MVI Smart Portable CD Player is the best way to bring back your favorite music. With a simple plug-and-play setup, it works seamlessly with most modern vehicles, letting you enjoy your CD collection without modifying your car’s infotainment system.